
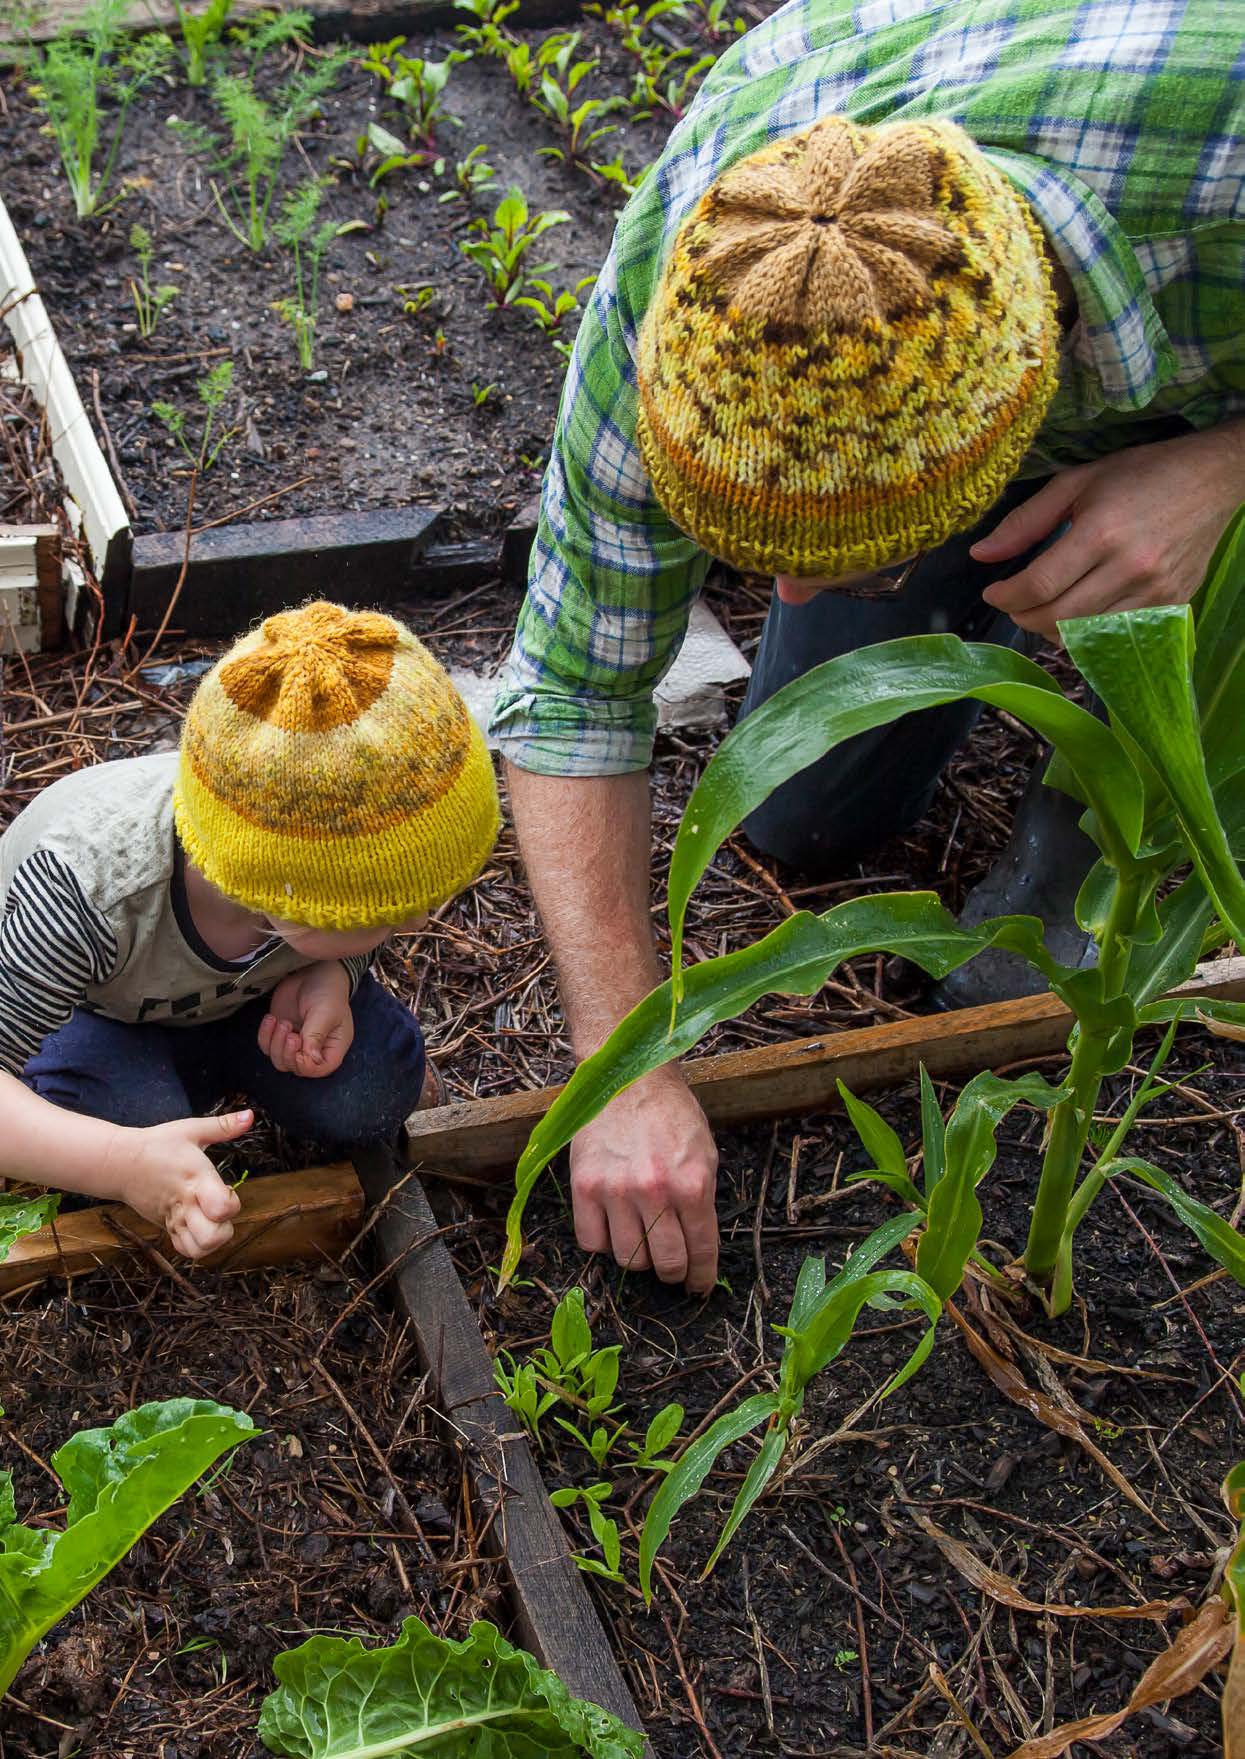
This simple beanie pattern is a breeze to whip up in sizes for everyone in the family and is perfect for early rising gardeners to take the chill off winter mornings. The simple construction makes it a great step up for beginner knitters who are ready to move on from scarves, but aren’t quite ready to knit in the round. You can fancy it up by using a self-patterning yarn either bought from the shop or home-dyed using beautiful natural pigments (see Pip Magazine issue 7 for our how-to on natural dyeing!).
MATERIALS
1 x 50 g ball of 8 ply yarn
(x 2 for a large beanie)
Pair of 5.5 mm needles
Yarn needle for sewing up
SIZE
Medium size beanie
GLOSSARY
* K2tog across: Knit two together. Put your right needle through the two first stitches on your left needle and knit them together as if they were one stitch. Repeat across the row.

Clockwise from top: Small medium and large variations, hand dyed using natural dyes; Whip stitch the sides together; Pull the beanie together; Balls of wool.


METHOD
- Cast on 74 stitches (86 for large size)
- Work k1, p1 (knit 1, pearl 1) ribbing for 8 rows
- Work straight in stocking stitch (k row, p row) until work measures 18 cm from cast on edge, ending with a purl row
- Next row: K1, k2tog across, k1. 38 (44 for large) sts remain
- Purl one row
- Next row, K1, k2tog across, k1. 20 (23 for large) sts remain
Cut yarn from remaining wool at around 30 cm and thread the end onto yarn needle. Carefully thread the last row of knitting from needle, threading the yarn needle through each stitch. Pull tightly, then whip stitch the seam together. I like to thread the tail of the starting thread onto the needle and stitch up the ribbing before this, as it’s easier to stitch up the beanie neatly once the rib is anchored.
VARIATIONS
To create a snugger fitting beanie (perfect for children), knit the medium sized pattern on 4.5 or 5 mm needles. To create a rolled band, just don’t do the ribbed edge, and once cast on commence stocking stitch. The edge forms a natural roll.